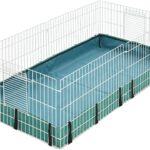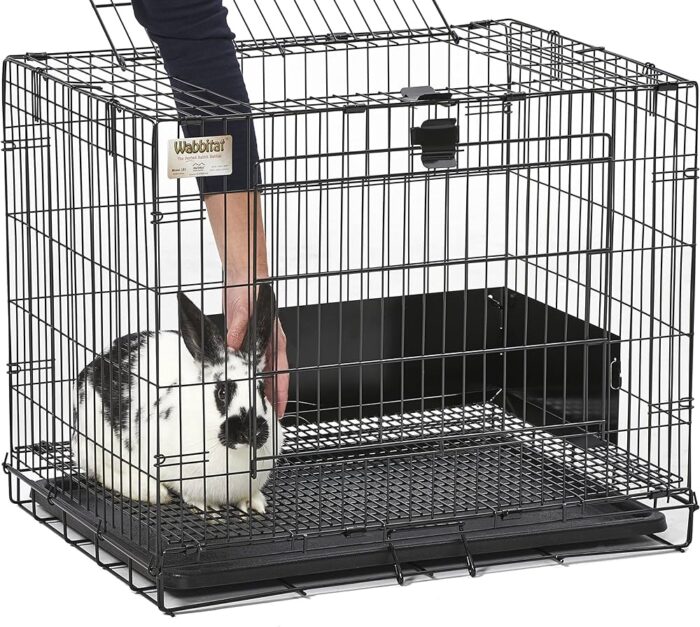
The Midwest Homes for Pets Wabbitat Folding Rabbit Cage is a popular portable rabbit habitat that’s designed to provide a comfortable, secure enclosed den and play area for small rabbits. Setting up this folding cage for the first time does take a little bit of work to ensure it’s properly assembled, but once put together, it provides great living quarters for a rabbit that’s also convenient for travel or storage when not in use. Here is a step-by-step guide on how to set up the MidWest Homes for Pets Wabbitat Folding Rabbit Cage.
Gather all Needed Parts and Tools
First, make sure you’ve unpackaged all the components of the Wabbitat cage and have them laid out and identified. The major parts will include:
– Top frame
– Base tray
– Divider panel
– Shelves/Ramps
– Feeder
– Water bottle
– Carry handle/Locking clips
You’ll need standard household tools like pliers, scissors, and potentially a small hammer or mallet.
Assemble the Frame and Hooks
The metal top frame pieces secure together via plastic connectors at the top of each corner to form a square enclosure. Each vertical post also has a metal hook for hanging internal accessories. Use pliers or a mallet to ensure all pieces are fully pressed into place so the joints feel snug and even. Installing the hooks correctly is key so shelves and ramps align properly inside later.
Insert the Base Tray
The plastic base tray with raised edges should fit snugly into the bottom of the assembled metal wire cage frame. Make sure it’s inserted evenly so no major gaps are showing at the seams. The tray adds stability while also containing any messes.
Attach the Front Door Panel
A divider panel will come with either a door cutout or plastic cover to swing shut the front open section of the cage for easy rabbit access. Use the provided clips to slide this into the front midline grooves securely. Test opening and closing the access door or cover to ensure smooth operation without risk of it falling off.
Mount Shelves, Ramps and Accessories
Using the built-in hooks, start hanging any platforms, ramps, feeding components or hideaways that came packaged with the Wabbitat model you purchased. Fit the pieces snugly into place without extra space showing. The parts often only stabilize well when locked in position correctly. Check the alignment by gently rocking them back and forth.
Add a Water Bottle
Attach the included water bottle with metal nozzle pointing inward onto the exterior wires using spring-activated clips or zip ties so it’s positioned inside and easily within reach when rabbits stand up without any sharp pokes. Test that water flows easily when using the metal ball bearing mechanism.
Set Up the Carry Case
The Wabbitat includes a handy nylon and mesh zippered carry case for easy transport. Unfold this and place the fully assembled cage onto the black nylon base, then zip up the sides securing the top clear mesh. Some models may require installing plastic locking clips to reinforce the carry case walls surrounding the cage. These ensure no accidental unzipping or collapsing mid-transport.
Conclusion
Once fully constructed following all provided instructions, the Midwest Homes for Pets Wabbitat offers a highly-functional living space for a rabbit that also conveniently folds down for storage or traveling. Just be attentive to periodically check clips, push-pins and tubes ensuring continual secure assembly with age and use over months and years. And with that, your rabbit is ready to hop happily into his or her new home! Enjoy. I hope this How do I set up the MidWest Homes for Pets Wabbitat Folding Rabbit Cage post helps you.