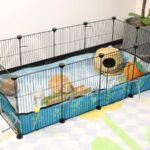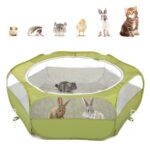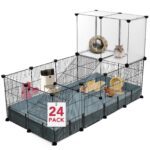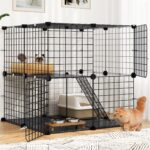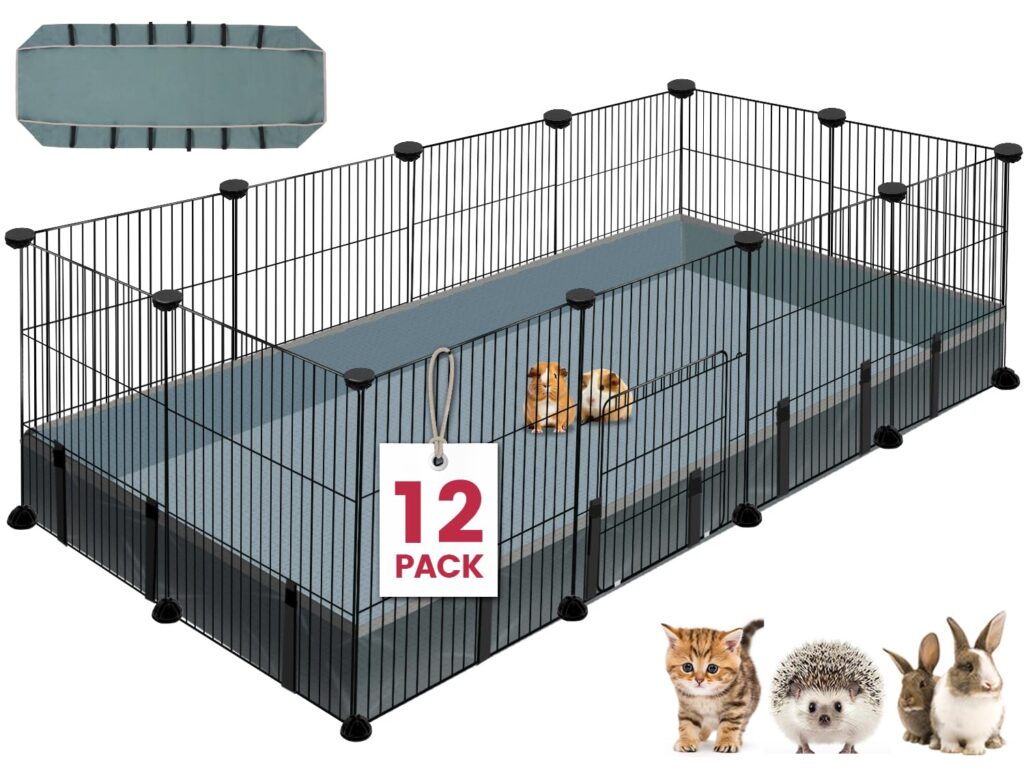
The VISCOO 12 Panels Playpen offers small pet owners like rabbits, guinea pigs, and other tiny animals a secure area for playtime when roaming freely at home. But transforming the boxed parts into a usable pen takes a little handiwork. Here’s a step-by-step walkthrough for constructing this popular animal enclosure to maximize both functionality and safety once furry friends start frolicking inside. In this article we talk about How can I assemble the VISCOO 12 Panels Small Animal Playpen.
Inspect and Organize all Components
Unbox all metal panels plus accessories like food bowls, connectors, mats if ordered and group like with like on the floor to take inventory. You’ll need:
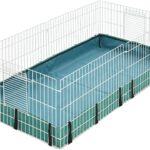
– (12) 31” long x 22” tall wire panels with side locks
– (12 or more) plastic 90-degree panel corner connectors
– Optional mat/blanket/bowls
No tools require usage here beyond your hands.
Design Initial Layout
Using your floorspace dimensions, map out roughly how panels arrange into shapes – most commonly a square or octagon works smoothest. Remember you can offset gaps using excess panels to block holes if space allows. Include door gaps clearance in planning.
Start Corner/Doorway Framework
Take 2 panels and insert a plastic connector vertically into the dual slots at each end piece, creating a firm 90 degree joint for the cage cornerstone and ensuring proper alignment. Repeat this linking additional panels around the perimeter.
Fill in Wall Segments
Continue joining the remaining panels into the established corners via additional plastic connectors until all pieces integrate into frames with no major gaps showing. Line up panel heights evenly for maximum structural integrity.
Reinforce with Locking Pins
To prevent later separation, locate the spring-loaded security locks midway up the panel length and insert a locking pin at each junction to fully secure walls snugly into position. Push/pull gently to test stability.
Anchor the Structure
Since pets roaming inside exert outward pressure along the frame, use securing stakes (included) anchored at corners into the floor surface beneath preventing gradual slippage of freestanding walls.
Add Interior Furnishings
At this stage, position any foam floor mats/blankets to cushion falls. Then populate the habitat with essentials like hiding spaces, bowls secured from tipping over and safe chew toys spread throughout to stimulate natural enrichment once pets start exploring new digs.
Introduce Pets
With assembly fully complete, perimeter fortified from slipping and enrichment toys positioned safely, gather excitable pets from existing housing and place inside finished enclosure observing initial reactions closely to ensure acclimation success.
Maintenance Checks
Check connectors daily ensuring tightness at junction points until panels feel firmly fused from routine physical pressures. Periodically inspect floor mats and blankets for chew holes or waste soaking indicating replacement needs.
Conclusion
By taking assembly step-by-step, the VISCOO playpen offers small critters a safe haven for contained frolicking and nurturing natural behaviors. Just be attentive to periodically checking wall integrity and accessories while introducing pets slowly to this new enrichment stimulating environment. Enjoy watching happy pets play using your DIY customized animal enclosure! I hope this How can I assemble the VISCOO 12 Panels Small Animal Playpen article helps you.